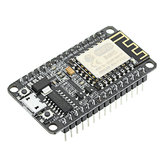
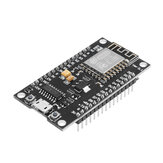
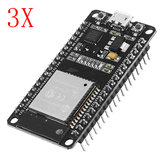
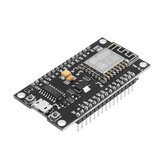
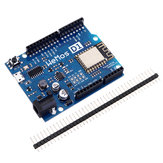
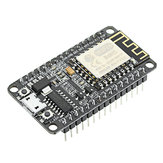
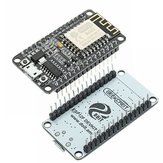
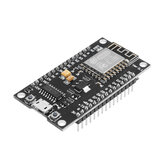
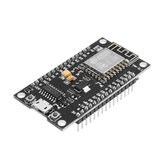
3Pcs Geekcreit® NodeMcu Lua ESP8266 ESP-12E WIFI Development Board
Customer Reviews
- All Reviews (113)
- Image (8)
- Video (1)
A part of the review has been auto-translated.
-
 vwlowenVIP2GB21/10/2016
Although these modules are shipped with the NodeMcu firmware installed, it's very easy to load your own firmware using the Arduino IDE. There are loads of websites detailing installing the ESP8266 Boards Manager (Google) and, once installed, you write code in the normal Arduino IDE and upload it directly into the ESP8266 module without using the Arduino (Uno, mega, whatever) at all. The ESP8266 *replaces* the Arduino hardware. Sketches are written exactly as for the Arduino, the only point to note is that, in common with most ESP8266 development boards, the pin numbers written on the silk screen are NOT the numbers to use in your sketches. You need to use the actual "GPIO" pin numbers of the ESP8266 chip itself - Google ESP82266-12E pinout. The attached photo shows the ESP8266 module being put through its paces. Measuring temperature with a DS18b20, measuring pressure and temperature with a BMP180 module and lighting two LEDS. At the same time, the ESP8266 module is connected by WiFi to my router and I'm able to display the sensor measurements and control the two LEDS via a simple webpage created by the onboard Arduino-style sketch.
CommentsShow Original -
12/09/2017
In meiner kleinen Wetterstation habe ich einen ESP8266 verbaut. Das Arduino-kompatible Modul führt die Verbindung zu meinem WLAN durch. Bisher funktioniert das ausgezeichnet. Ich werde einie weiter Experiment mit diesem preiswerten Modul machen. Mein Video mit der Arbeitsweise der Wetterstation habe ich hier: https://youtu.be/DSEfxub_-f4 -------------------------------------------------------- In my small weather station I have an ESP8266 installed. The Arduino-compatible module connects to my WLAN. So far, this works very well. I'm going to make a next experiment with this cheap module. My video with the operation of the weather station I have here: https://youtu.be/DSEfxub_-f4
CommentsShow Original -
16/01/2018
THIS PRODUCT I RECEIVE AS DESCRIBED AND I GET 3 PCS OF NODEMCU ESP 8266 AND ITS AMAZING EXPERIENCE AND GRATE SHIPPING AND FASTER REACH ME . THANKS A LOT BANGGOOD PROVIDE AMAZING SHIPPING AND PRODUCT AUTHENTICATE ..
CommentsShow Original -
 LucaLucaVIP3IT04/02/2018
Funziona bene e non mi ha dato problemi in nessuna delle mie applicazioni. Solo ogni tanto negli usi più pesanti si blocca, ma basta un riavvio.
CommentsShow Original -
 krbVIP1GB15/01/2018
I love these little things came faster than expected! exactly 2 weeks after placing order. one came without Lua firmware but that's not an issue. have been using one of these for months and hasn't failed on me so I got 3 more
CommentsShow Original -
23/11/2017
The product looks good. havent tested it out yet. thanks banggood!
CommentsShow Original -
 icelitCL04/10/2017
Works perfectly
CommentsShow Original -
 knyazyokVIP3RU13/09/2017
Пришли 3 штуки как и заказывал. В работе не проверял еще выглядят добротно
CommentsShow Original -
16/11/2016
Just you must select the NodeMCU 1.0 esp12E board of the arduino ide list. I already try it to control a simple relay over the network and it wroked very well.
CommentsShow Original -
 mazevedoVIP3CH07/10/2016
These work very well and the price is really good. Just on a side note, the ESP8266 module is a ESP12F and not the older ESP12E.
CommentsShow Original
